Just over eight years ago, Hubs and I were searching for a new house. He had to have a pole barn. I had to have a large walk-in closet. We got both. At the time, the house seemed huge – a big step up from what we had before. Fast-forward to today – the house seems much smaller now and my ‘must-have’ list has changed. Don’t get me wrong, the closet is still a must. But if I were looking for a house today, I would want a decent-sized (preferably fenced-in) back yard (for the dogs, which we didn’t have nor anticipate eight years ago). And I would love a big walk-in pantry. And wood floors. And white cupboards/trim (we have beautiful cherry wood work that would be a shame to paint). And a big covered porch. And a kitchen with the perfect set-up for photographing all the recipes I test for this blog (you should see the contraptions I have to finagle just to get a decent shot, risking life and limb as I balance atop chairs and bar stools). Well, let’s face it, I could go on all day.
I am very grateful for our home and for all the ways God has so richly blessed our lives. I realize there are millions of people around the world who are homeless or are living in shacks made of cardboard, dirt, scrap metal, plastic, etc. So, I will shut up about my wish list and make this house the best home I can – with this cozy DIY linen wreath, for example, which can be embellished accordingly for each season/holiday. (How’s that for a transition?)
You may recall the beautiful gray linen wreath from my 10 DIY Fall Decor Projects post. It was this wreath that inspired my white version. I couldn’t find gray linen at Jo-Ann Fabric, and I had a 50% off coupon, so I went with white. I’m actually glad it worked out that way. The white lends itself to all seasons and I can change the embellishments to fit any holiday, color scheme, etc.
WARNING. Don’t say I didn’t tell you so because I’m telling you right up front that this requires a lot of fabric and considerable time. How much time I do not know because I worked on it a little at a time here and there. I ended up using 7 yards of fabric, but you can get away with as little as 4 or 5 yards if you’re doing a smaller wreath. Mine is about 16″ in diameter. You could try a different fabric, but I think linen (or a linen blend) is the best choice because it has a perfectly frayed edge when ripped and the texture crumples well, giving it volume. I used 54″ wide Natural Hopsack Linen Look (55% Linen 45% Rayon), which is regularly 9.99/yd. So, even with my 50% off coupon, this project cost me about $37 (with tax). The rest of the materials and tools were things I had on hand.
MATERIALS & TOOLS:
linen or linen-blend fabric (see prior paragraph for quantity)
wire coat hanger
wire cutters
pliers
optional embellishments of your choice (such as ribbon, ornaments, flowers, birds, etc)
STEP 1:
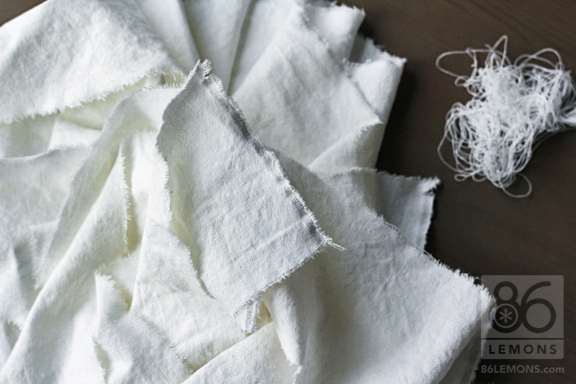
DO NOT SKIP THIS STEP! Wash and dry your fabric. This will give it a fuller, more wrinkled/crumpled texture, which is what you want for this wreath.
STEP 2:
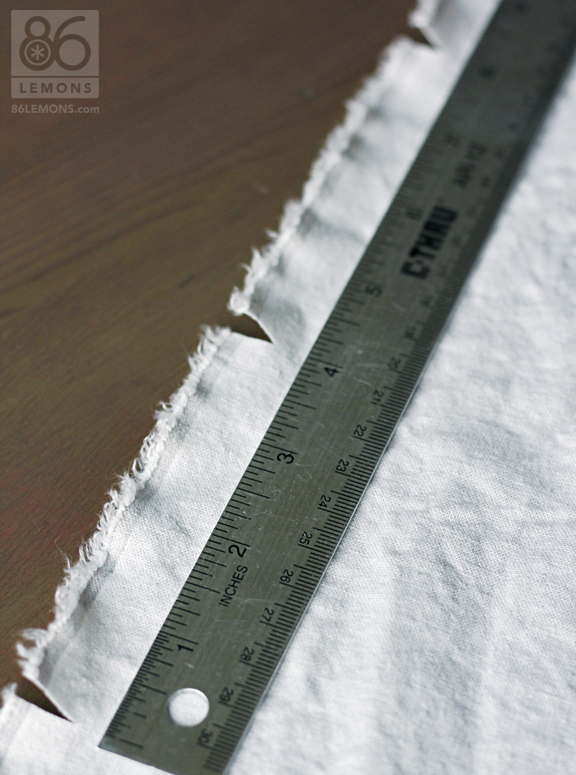
Along the selvage edge (the edge that is not cut), cut a small snip every four inches. At each snip, rip the fabric so you have 4″ strips of fabric. Your first piece may be uneven, but the rest should be pretty straight. Clean up the loose strings as you go.
STEP 3:
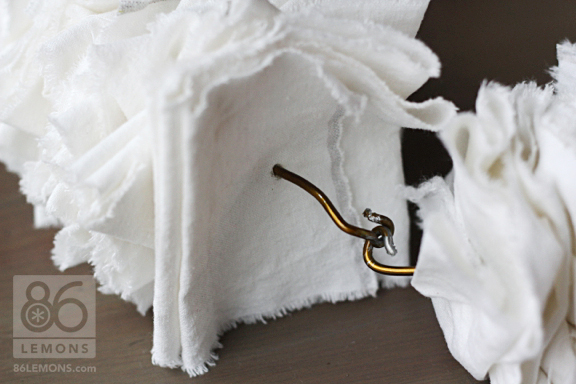
Use the pliers to open the wire hanger. Use the wire cutters to snip off the curvy neck area of the hanger. Form the remaining wire into a circle. Curve one end of the wire into a small loop.
STEP 4:
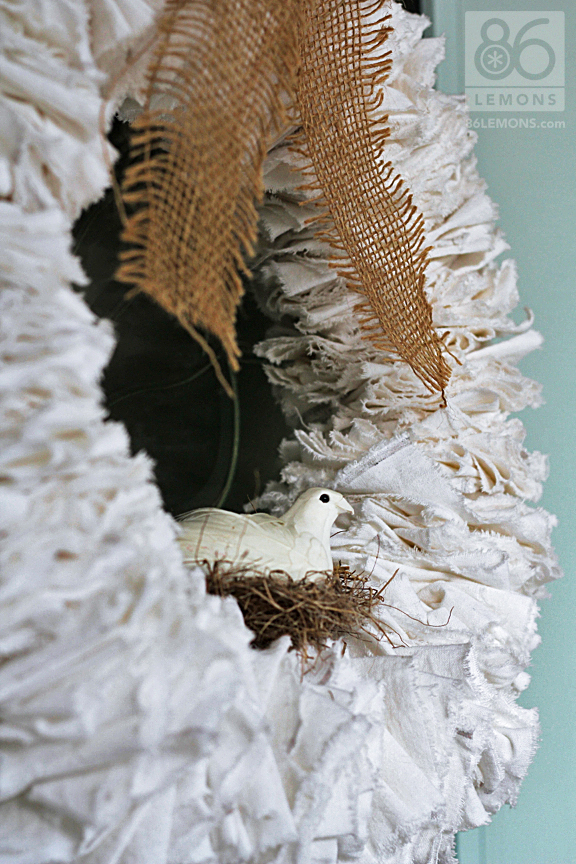
Using one strip of fabric, about 3 to 4 inches from the end, poke the un-looped wire end through the middle of the fabric. About 4 inches from that hole, poke the wire through the fabric again and again until you reach the end. You don’t want perfectly aligned flat folds, so be sure to crumple and twist as you go. Repeat with remaining strips of fabric until you reach the desired size and fullness.
STEP 5:
Use the pliers to form the straight end of the wire into a loop. Interlock the two loops to close the wreath. You may need to adjust the wire in areas to form a more perfect circle. Turn the wreath to find the spot where the fabric best hangs and doesn’t clump together. Use a ¼” to ½” strip of the fabric (or a piece of twine or ribbon) to make a loop around the wire for hanging the wreath (this should be hidden in the fabric).
STEP 6:
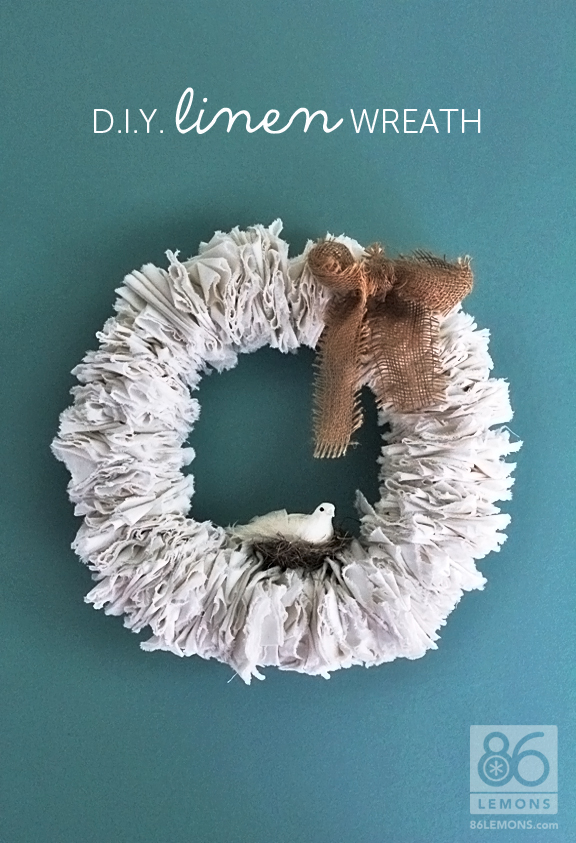
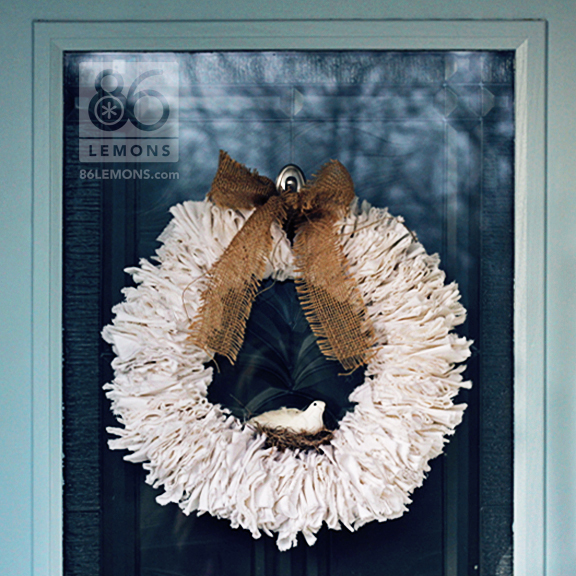
Add embellishments of your choice. I added a burlap ribbon and a bird ornament atop a bird’s nest that I found on the ground while walking the dogs. To secure the nest to the wreath, I weaved some dental floss through it and around the wire a couple of times. The bird ornament has a clip on the bottom, which I clipped into the nest. I don’t suggest using any hot glue or permanent method of attaching your embellishments if you want to change them out later for other seasons/holidays.
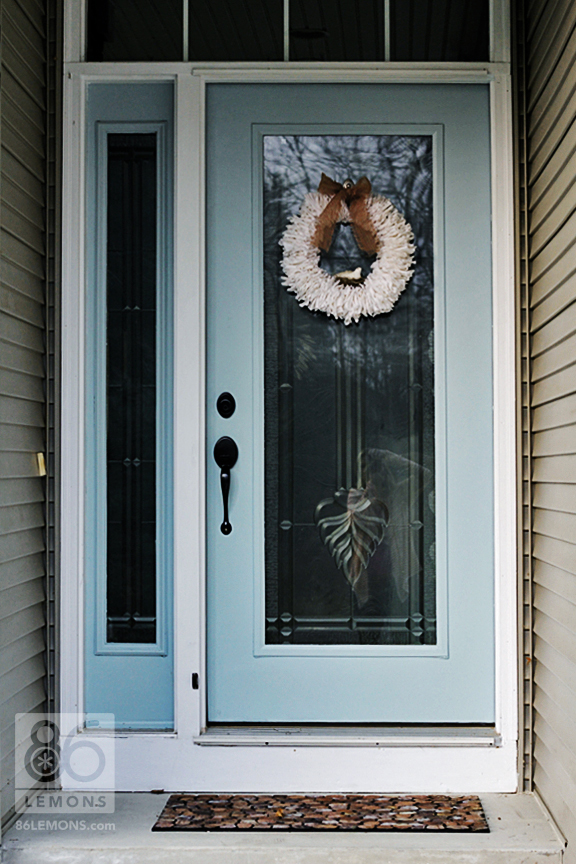
I hung it on the front door and I absolutely love it there… but then Hubs said the fabric might get moldy from the moisture in the air. He’s probably right (and he’ll love that he now has that in writing – the fact that he was right – because it hardly ever happens ;). So I moved it inside. If you live in a dry climate and your door is protected from the rain, then it will probably be fine. Happy crafting!
Next post will be a new vegan recipe test – I promise.



Livvy! That is so, so pretty! I love that little birdie!
Love it! Looks beautiful!
Nice work Livvy! What a lot of patience you have.
Soooo cute! And i LOVE that it can be used for so many different seasons/holidays. I’m already envisioning it “all changed up.” I love that you had the patience to finish it and not give up when you realized it wouldn’t be “cheap.” Great job!
This is so cute! What type of hook is it that you are using to hang the wreath from? I’ve mostly seen the over-the-door wreath hangers but I think my front door would do better with this type. Merci!