
Discovering a simple and satisfying way to make bread can be a game-changer, especially if you adhere to a vegan lifestyle. A vegan Dutch oven bread recipe lets you enjoy homemade, cruelty-free artisan bread using ingredients that align with your ethical choices without sacrificing flavor or texture.
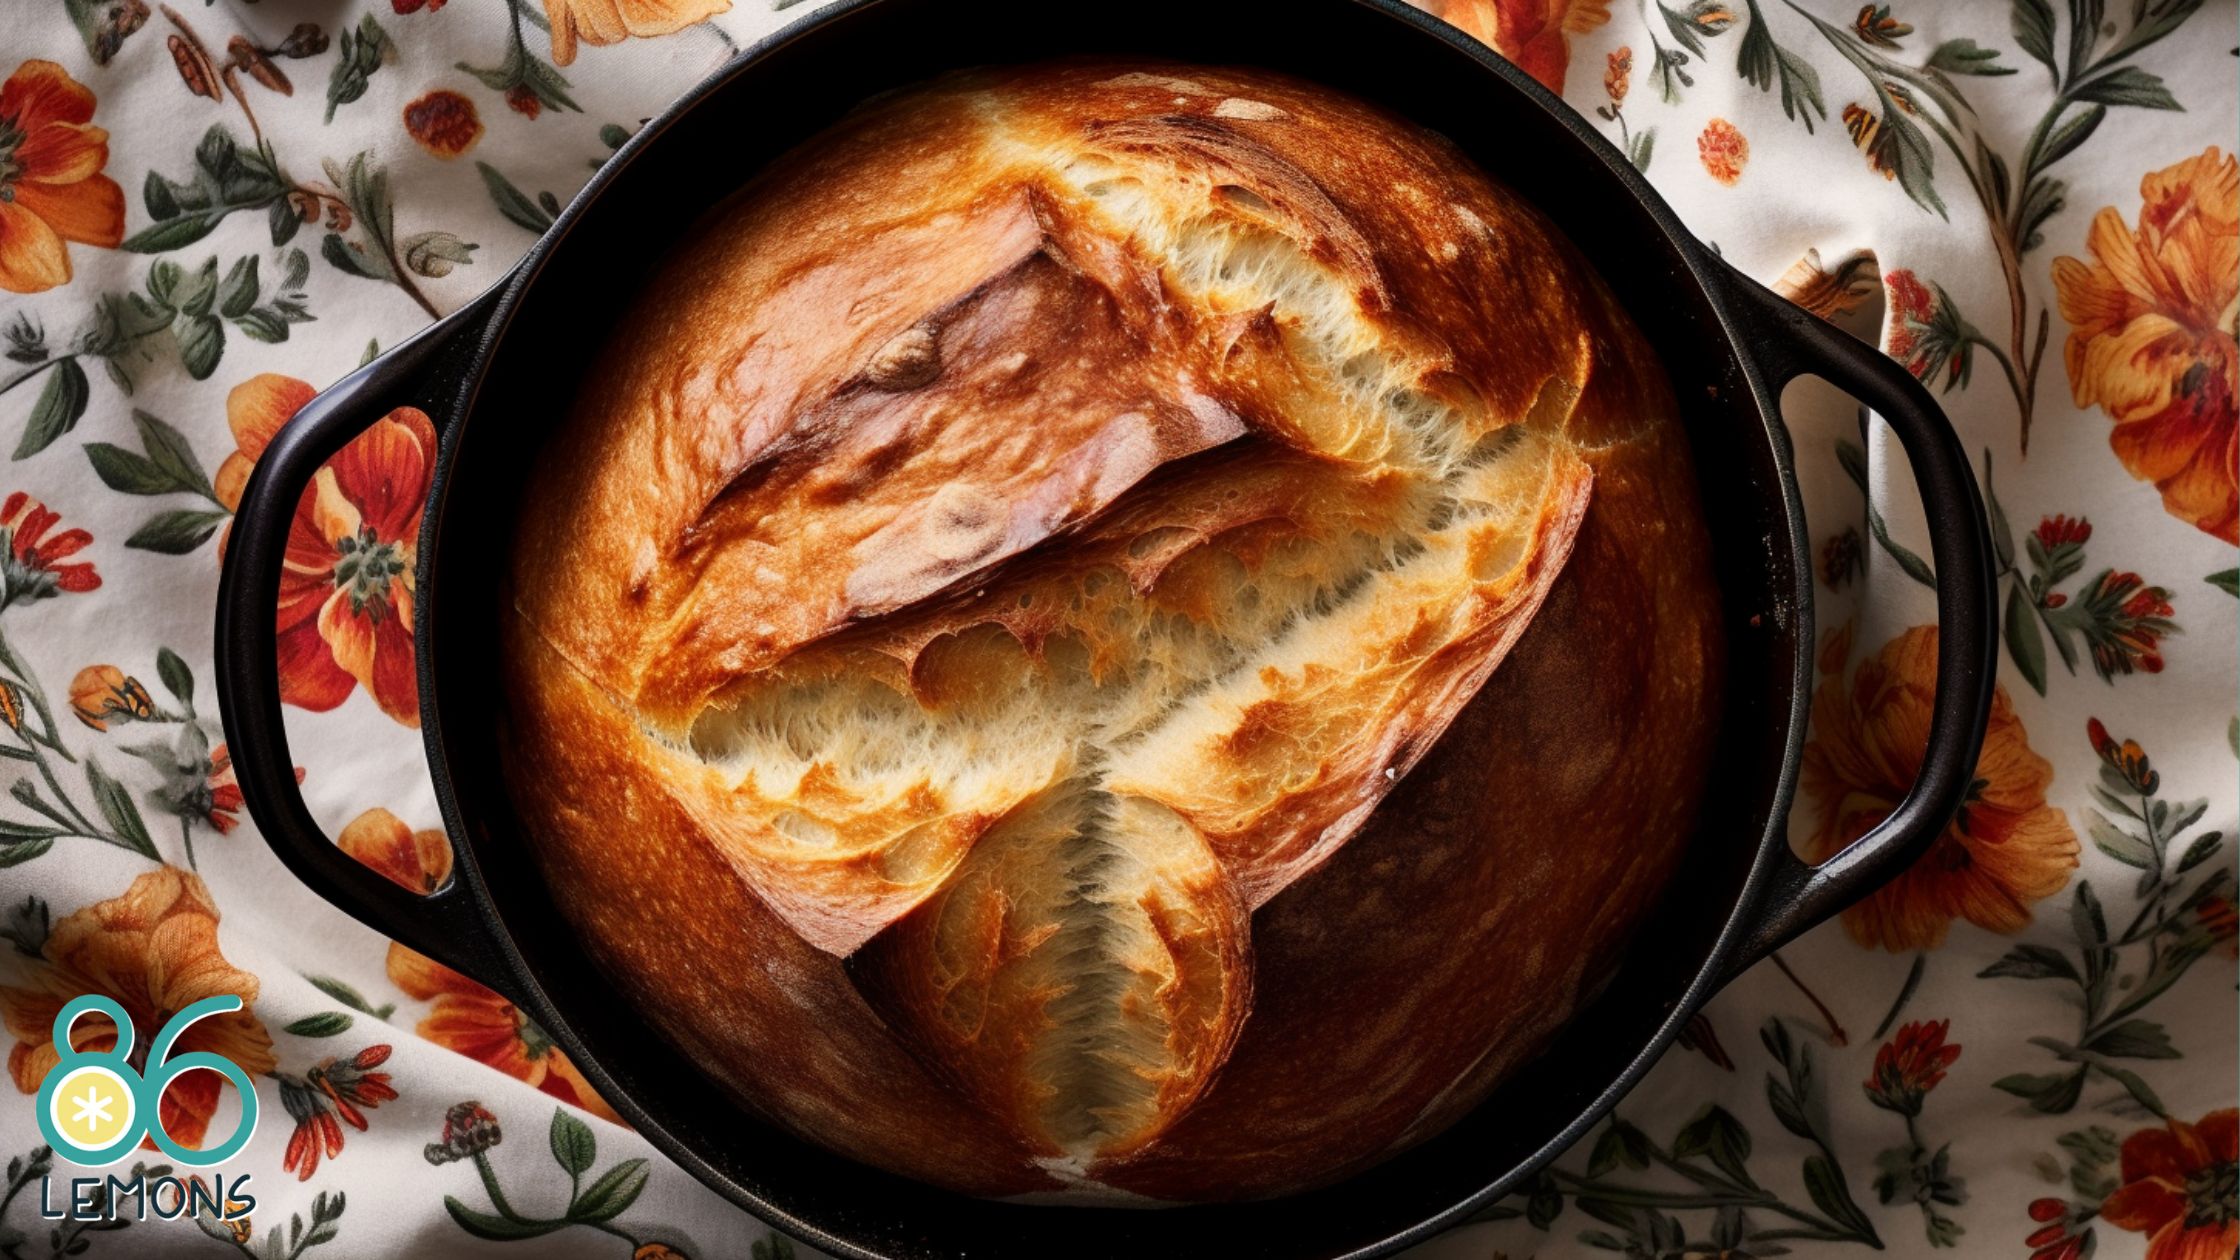
The beauty of this easy vegan recipe is that it requires no complex techniques, making it an ideal choice for bakers of any skill level. A Dutch oven effectively traps steam during the baking process, mimicking the environment of a professional bread oven.
This steam is crucial for achieving that characteristic crunchy exterior while keeping the inside soft and chewy. By using simple vegan components, you’re also ensuring that your bread is not only delicious but also aligns with a sustainable and ethical diet.
Key Takeaways
- Vegan Dutch oven bread is simple to make and perfect for all baking levels.
- A Dutch oven creates the ideal steamy environment for a crispy crust and soft inside.
- The recipe supports a vegan diet and promotes ethical and sustainable eating habits.
Benefits of Vegan Bread
When you opt for vegan bread, especially those you can make using a simple Dutch oven bread recipe, you’re choosing a loaf that’s dairy-free and plant-based. This choice can have several positive effects on your nutrition and overall health.
Fiber: Vegan bread, packed with plant-based ingredients, is often higher in fiber compared to traditional loaves. Fiber is crucial for a healthy digestive system and can help regulate blood sugar levels.
Iron and Protein: While meat is commonly known for its protein and iron content, vegan bread can also contribute to your intake of these essential nutrients. Ingredients such as whole grains, nuts, and seeds can provide you with a good dose of protein and iron.
No Dairy: For those who are lactose intolerant or looking to avoid dairy for ethical reasons, vegan bread provides a great alternative that’s free from any animal products.
Complex Carbohydrates: Providing a steady source of energy, the carbohydrates in vegan bread are typically complex, meaning they are digested more slowly and can help with sustained energy levels throughout the day.
Here’s a brief breakdown of why choosing vegan bread can be beneficial:
- Ethical Choice: Plant-based baking aligns with ethical vegan values.
- Health Benefits: The absence of trans fats found in some non-vegan breads and the presence of nutritious whole grains can contribute to a healthy heart.
- Environmentally Friendly: You’re also making a choice that supports sustainability, as plant-based diets generally require fewer resources and produce less CO2 than animal-based foods.
Opting for a vegan lifestyle doesn’t mean you have to sacrifice the joy of bread. With a Dutch oven and the right recipe, your vegan bread can be just as delicious as it is nutritious.
Choosing Ingredients for Your Vegan Dutch Oven Bread Recipe
When crafting a vegan Dutch oven bread, selecting the right ingredients is crucial for both the bread’s flavor and nutrition. You’ll want to use simple ingredients while considering the type of flour, yeast, salt, and any additional components to enhance your bread.
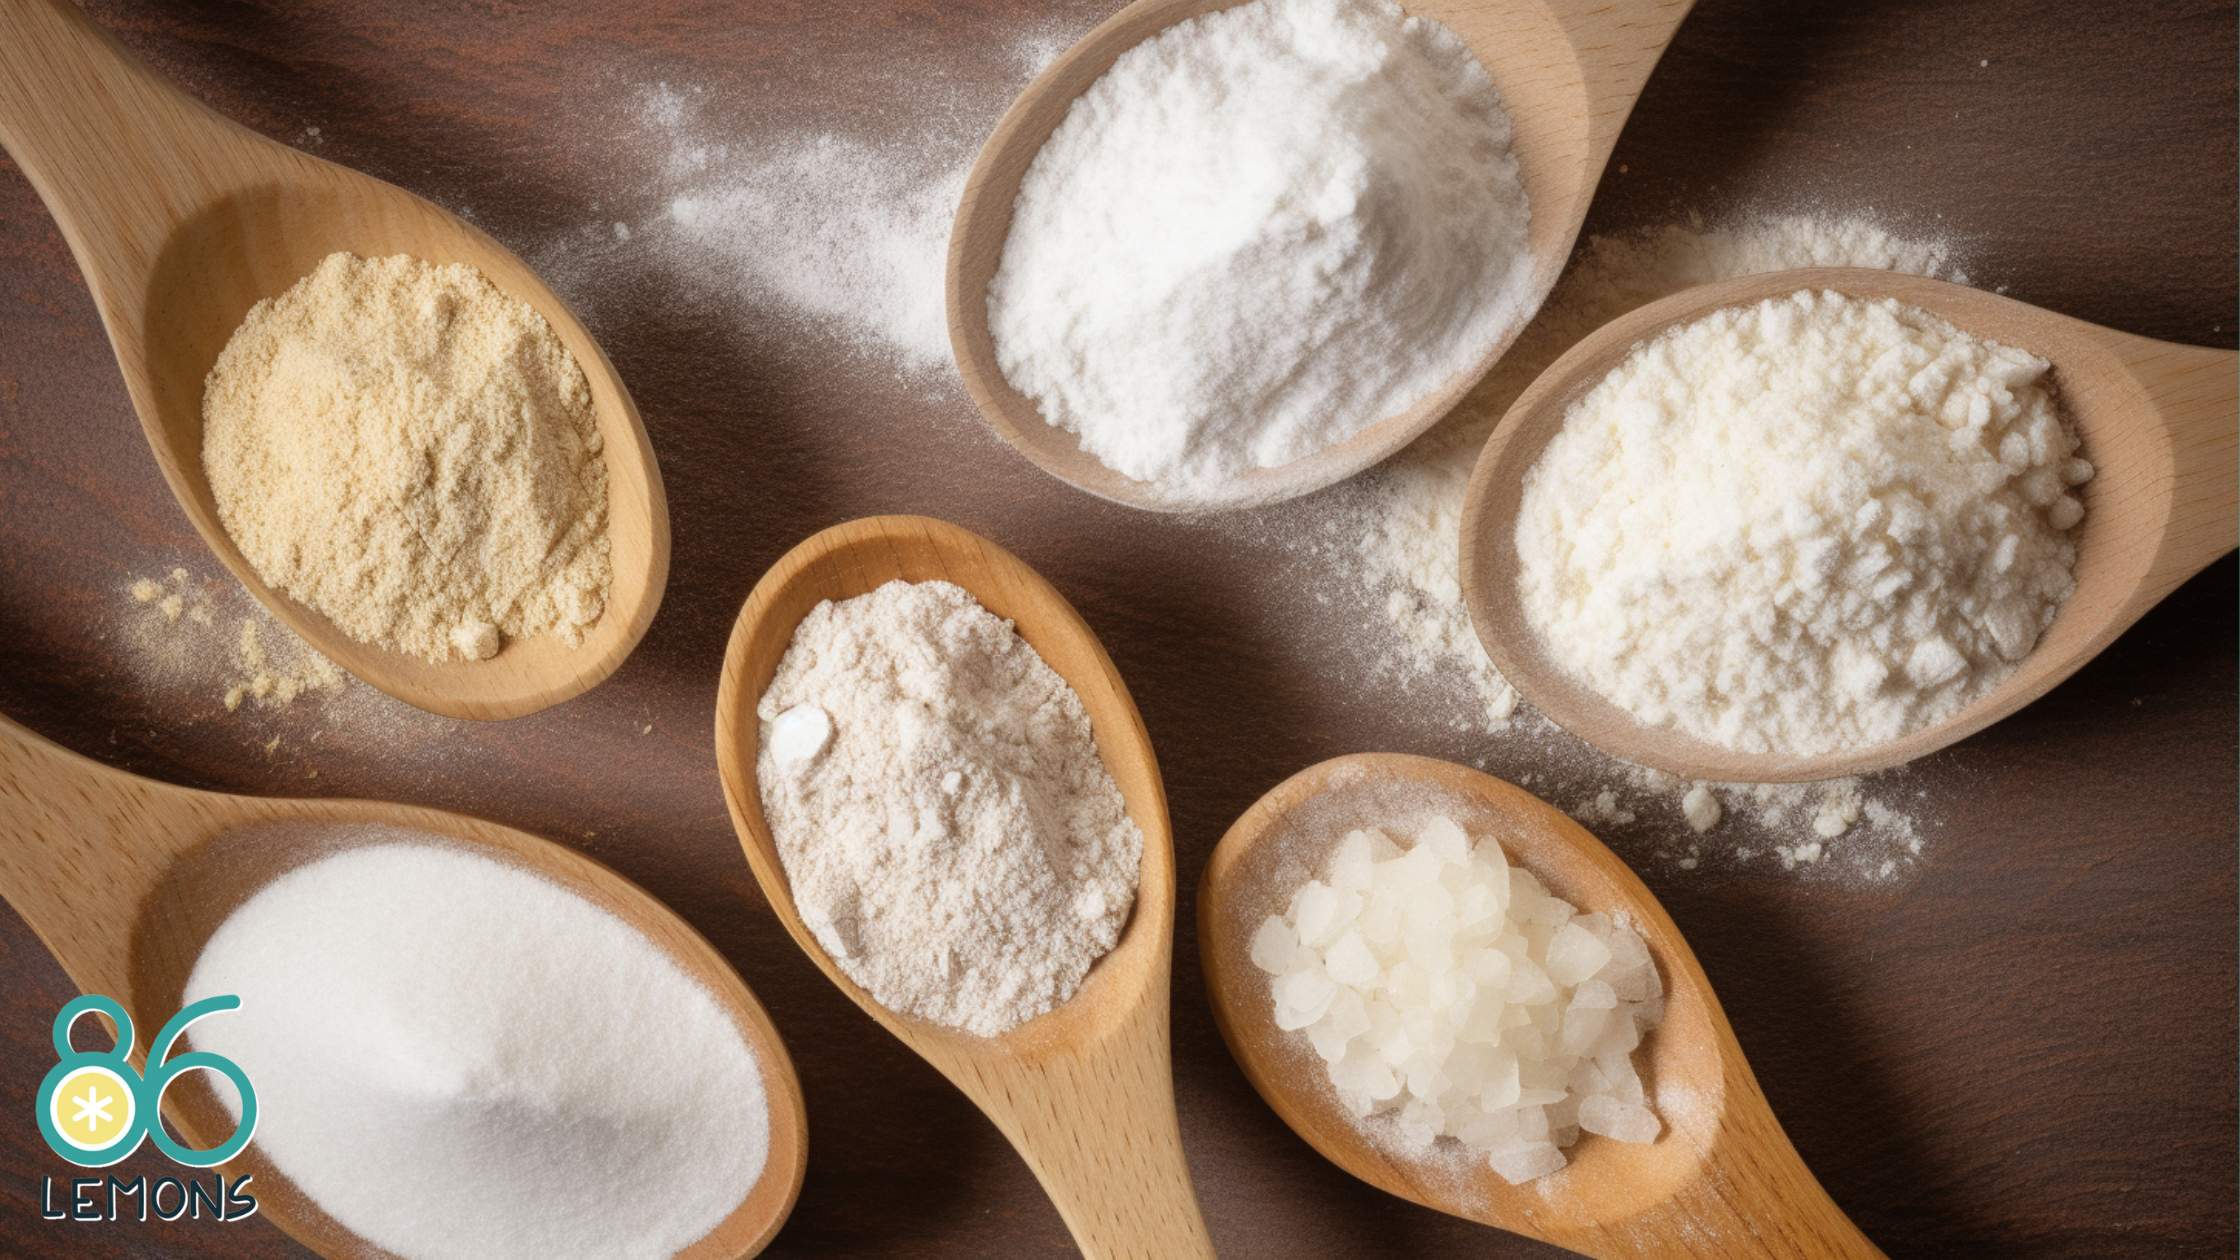
Flour Selection
There’s a variety of flour types you can use to achieve different textures and nutritional profiles:
- Bread Flour: It has a higher protein content, which means more gluten and a chewier texture in your artisan bread.
- All-Purpose Flour: A balanced choice that works well for a lighter loaf and is easy to work with.
- Whole Wheat Flour: Packed with nutrients and provides a denser, heartier loaf.
- Gluten-Free Options: For a gluten-free version, select a blend designed for bread baking to ensure it rises properly.
Yeast Varieties
Yeast is the leavening agent that’ll make your bread rise:
- Instant Yeast: Mixes directly with dry ingredients without needing to dissolve in water first.
- Active Dry Yeast: Requires activation by dissolving in warm water before adding to your dough.
Always check the expiration date to ensure the yeast is active.
Salt Types
Salt affects flavor, texture, and yeast activity in bread making:
- Sea Salt: Adds a subtle mineral flavor and is often preferred for its natural origins.
- Kosher Salt: Its flaky texture dissolves easily and is free from additives that can affect the yeast.
Additional Ingredients
Enhance your bread with a few simple additions:
- Water: Use lukewarm to activate yeast (unless using instant).
- Sugar: Optional, but can provide a source of ‘food’ for the yeast and add a slight sweetness.
- Vegan Butter: Brush on top for a golden, crispy crust.
Remember, your choice of additional ingredients can turn a basic loaf into a flavorful, nutritional staple in your vegan diet.
Equipment and Tools
To make the perfect vegan Dutch oven bread, you’ll need the right tools at your fingertips. From the ideal baking vessel to the essentials for prepping, here’s how to gear up for success.
Types of Dutch Ovens
Your choice of a Dutch oven is pivotal in baking bread. A cast iron Dutch oven retains heat well, ensuring an even bake. Its lid traps steam inside, mimicking the effects of a professional bread oven.
If cast iron isn’t your thing, an enameled Dutch oven is a great non-reactive option that makes clean-up a breeze. Just make sure it’s preheated properly before the dough goes in to get that crispy crust.
Prepping Your Workspace
Before you begin, ensure your workspace is ready. Clear a spot and have a sheet of parchment paper on hand to easily transfer your dough to the Dutch oven. A kitchen towel will be handy to cover your dough during the rise. Always keep a hot water source nearby to create the steam needed for a crispy crust.
Baking Essentials
- Mixing Bowl: You’ll need a large bowl to mix your ingredients. Glass, stainless steel, or plastic bowls are all fine choices.
- Wooden Spoon: For combining your ingredients without sticking.
- Baking Sheet: If you don’t have a Dutch oven, a baking sheet will do for baking your bread.
- Serrated Knife / Sharp Knife: For scoring your dough before baking to help it expand properly.
- Cooling Rack: Once your bread is baked, it’s crucial to let it cool on a rack to prevent soggy bottoms.
- Oven: Preheat it to the right temperature before your dough goes in. This ensures a rapid rise and a crisp crust.
- Parchment Paper: Use it to transfer the dough into the hot Dutch oven and reduce sticking.
- Kitchen Towel: An unbleached towel can cover your resting dough, keeping it free from drafts.
Make sure all your equipment is ready to go before you start mixing to streamline the process and keep things stress-free. Happy baking!
Dough Preparation
Before diving in, make sure your kitchen is comfortably warm—a cozy environment helps your dough rise properly. The ingredients you’ll use are simple and likely already in your pantry.
Mixing and Kneading
Grab your mixing bowl and whisk together the flour, a pinch of salt, and just a quarter teaspoon of dry active yeast. Slowly pour in warm water. The temperature of the water is crucial; it should feel like a pleasant warm shower, not too hot or cold. With a sturdy wooden spoon, mix until you have a shaggy, tacky dough—it won’t look pretty just yet.
Unlike traditional bread recipes, you won’t need to knead this mixture. The no-knead method will save you effort and time, making it perfect for beginners or if you’re simply looking for a more relaxed baking experience.
The Rising Process
Once mixed, your dough will need to rise. Cover your bowl with a damp towel or plastic wrap to keep the dough from drying out. Now, patience is key. Leave the dough at room temperature to let it develop flavors and texture.
This rise time is flexible, ranging between 12 to 18 hours, depending on your schedule. A longer rise time will result in a more complex flavor. Your dough will double in size and look plump and bubbly when it’s ready for the next step.
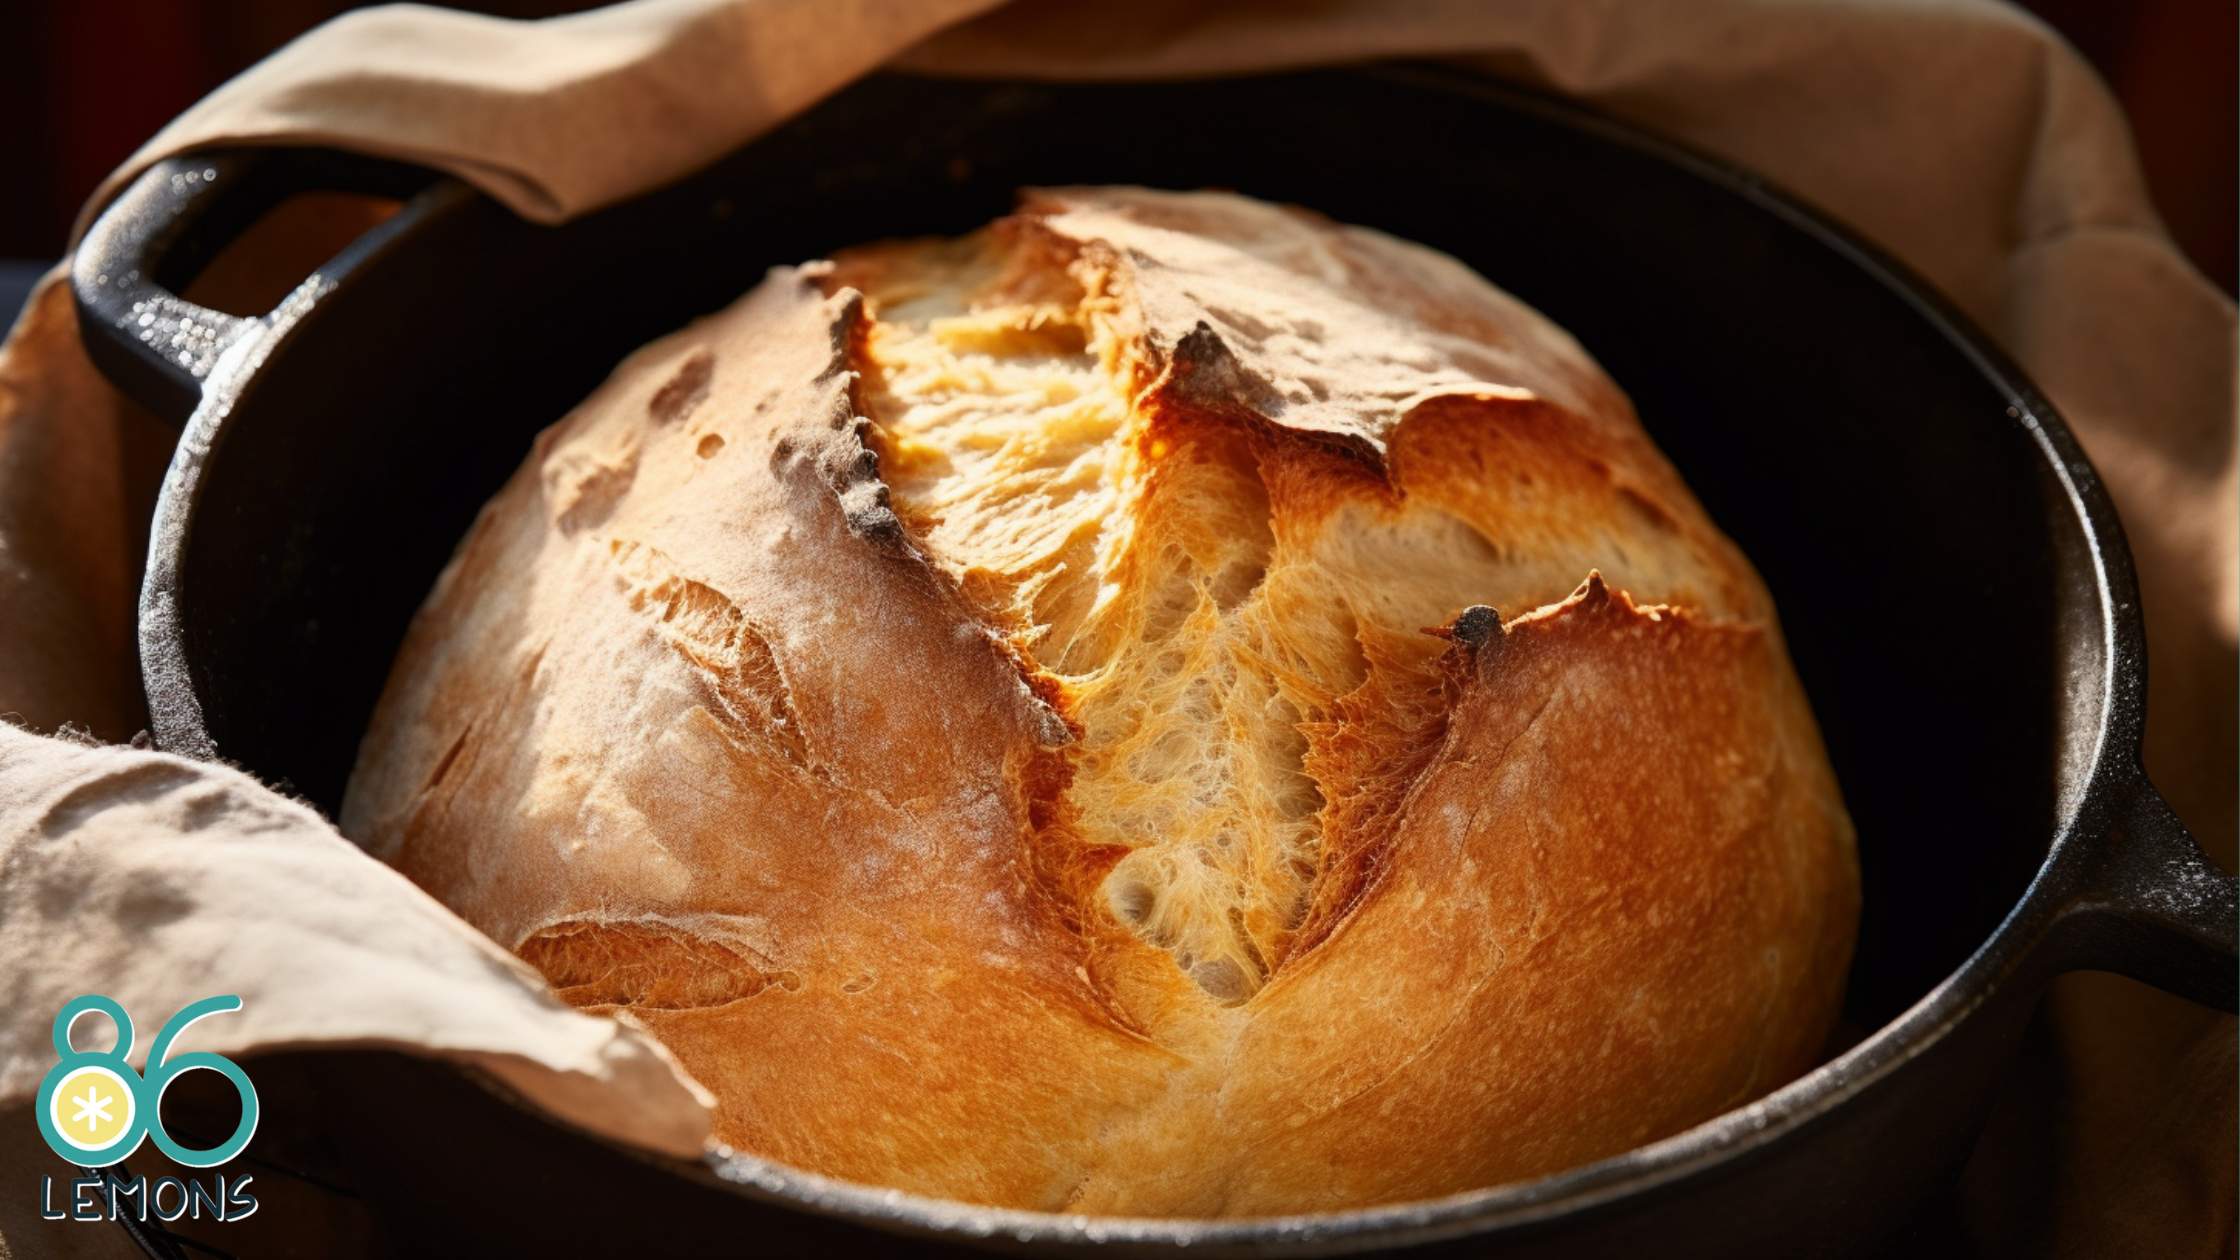
Baking the Bread
Ready to transform your dough into a beautifully baked loaf? This stage is where the magic happens. You’ll take your dough through the preheating, baking, and cooling to end up with a perfect loaf of homemade Dutch oven bread.
Preheating and Timing
Before diving in, crank your oven up to a hot 450°F (232°C), placing your Dutch oven inside to heat up along with it. This preheating step is crucial, as a hot pot will give your bread that desirable crusty exterior.
It’s key to let the oven preheat for at least 30 minutes, ensuring that your Dutch oven has reached the right temperature. Your total bake time will usually be around 45 minutes, but keep an eye out for that golden-brown crust to know it’s done.
Creating Steam
Once preheated, carefully remove the Dutch oven and place your dough inside. The key to a crisp crust is steam. You won’t be adding water directly, but the sealed pot captures the moisture released from the dough itself, mimicking a professional steam oven.
Pop the lid on and slide it back into the oven. Bake with the lid on to trap the steam for about 30 minutes, then remove the lid to let the crust develop its color and crunch for the final 15 minutes.
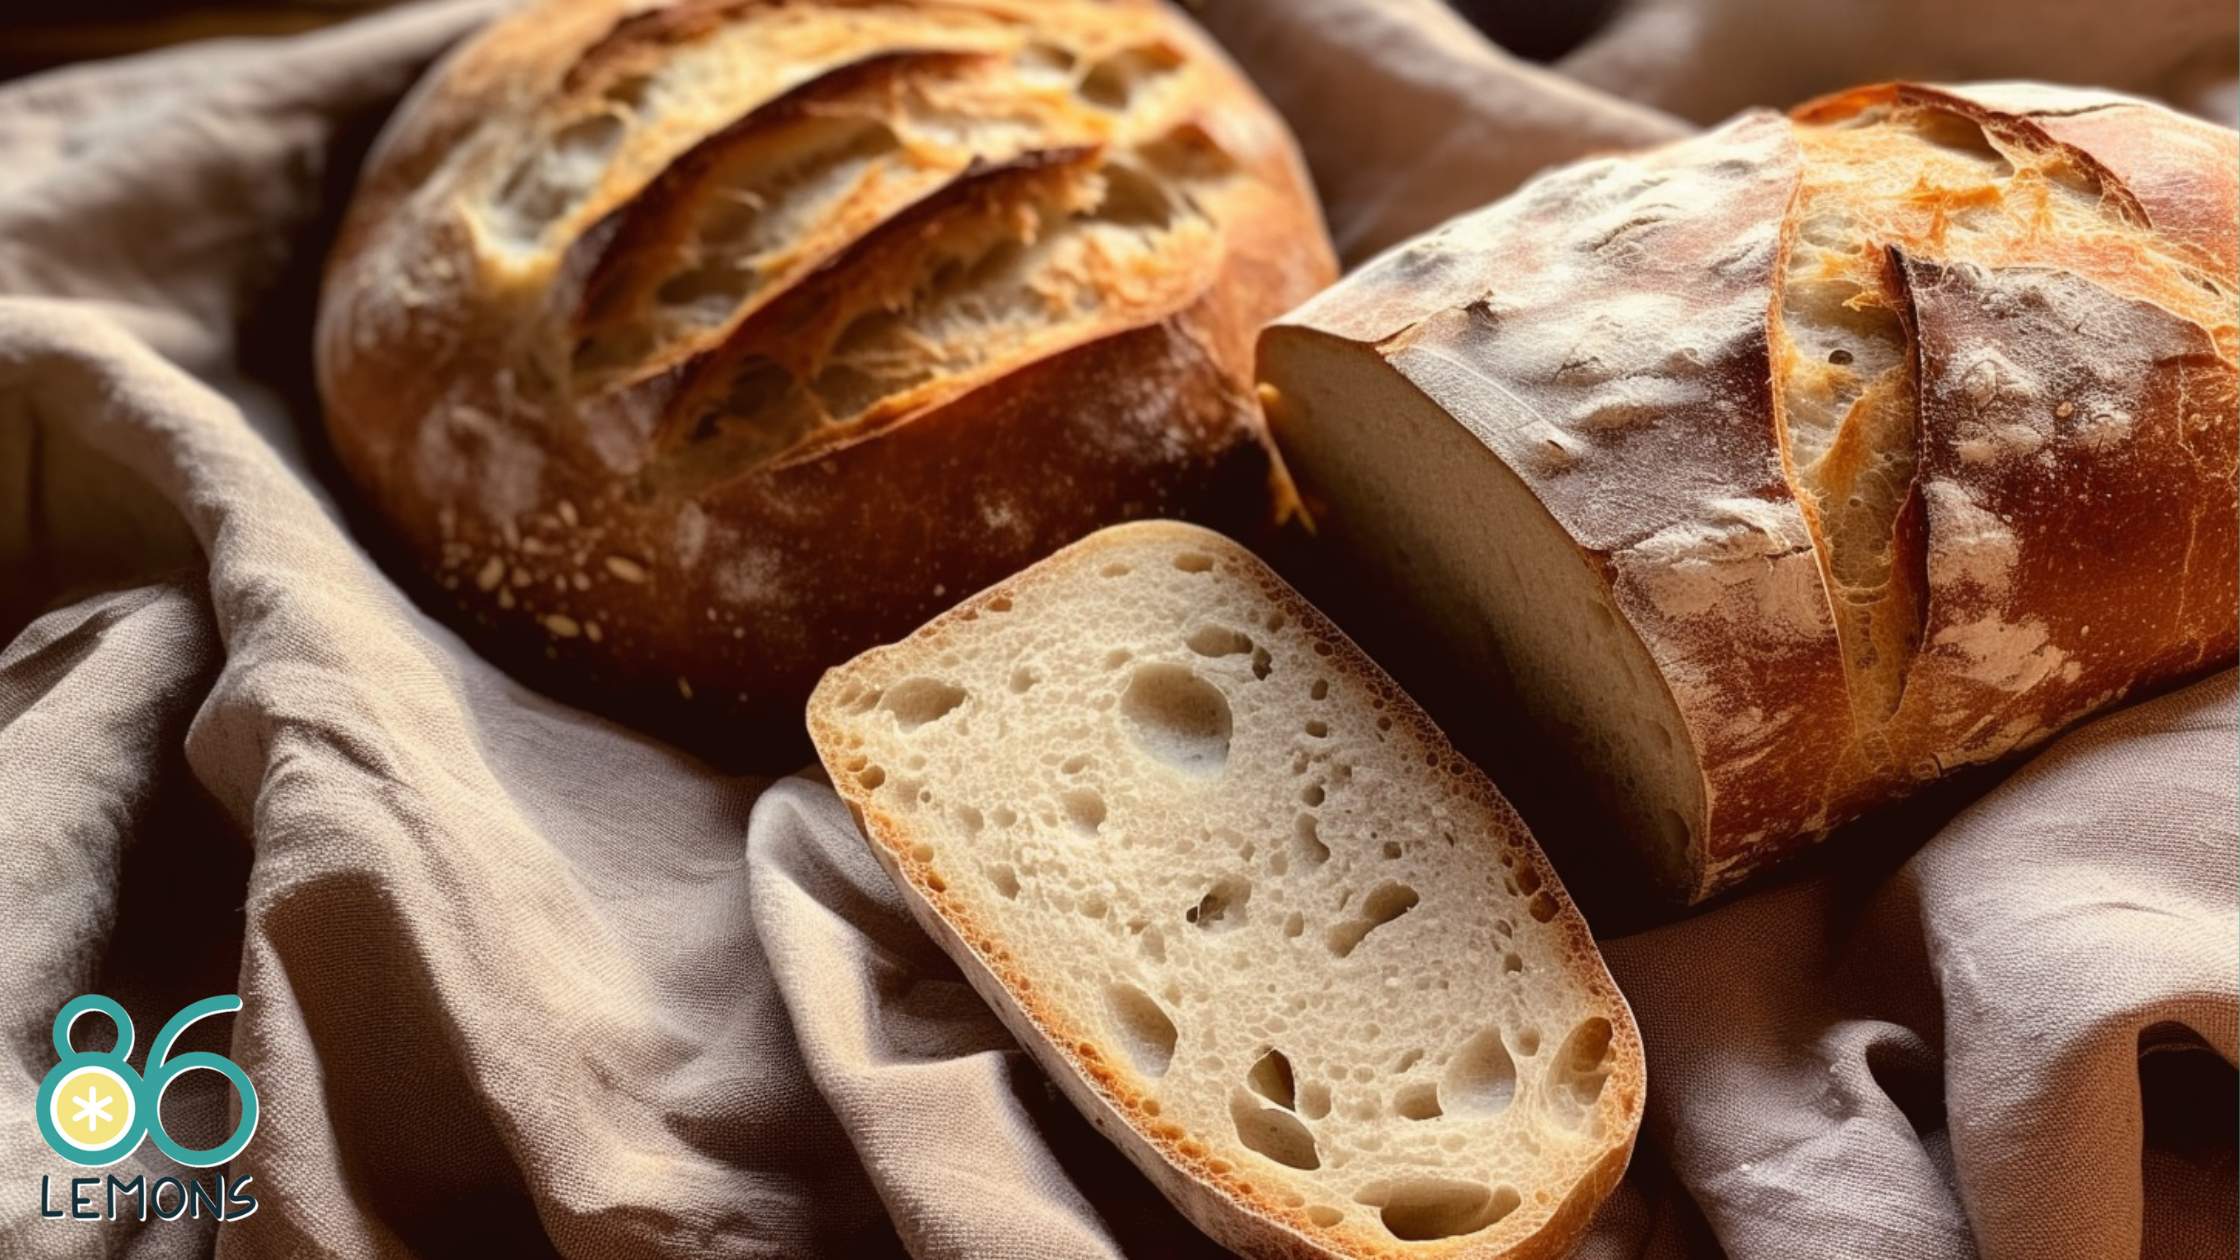
Cooling and Serving
After your bread is gloriously golden brown and crusty, take it out of the oven and let it cool on a cooling rack for at least an hour. Rushing to cut into it may result in a gummy texture, so patience is key.
Once cool, slice up that beauty and enjoy. Your Dutch oven bread is fantastic as a side dish, perfect for sandwiches, or just on its own with a dab of vegan butter or jam. Get ready to wow everyone with your baking prowess!
No Knead Dutch Oven Bread Variations
Creating a variety of no-knead Dutch oven breads can be simple and satisfying, with each type offering unique textures and flavors. You’ll have a blast trying different tweaks to the basic recipe that still keep the ease and convenience you love.
For a start, try turning your dough into a sourdough loaf. Replace the active dry yeast with a sourdough starter, letting the dough undergo an overnight fermentation that not only adds a tangy flavor but also improves the overall texture. Remember, sourdough will require a bit more patience, as the rise time might be longer compared to the quick-acting yeast.
| Variation | Instructions |
|---|---|
| Seed Encrusted | Roll your shaped dough in mixed seeds for a crunchy crust. |
| Whole Wheat Mix | Swap out half of the all-purpose flour for whole wheat flour. |
| Herb Infusion | Add rosemary, thyme, or oregano into the dough for an herby kick. |
If you’re looking to keep your meals plain and simple, stick to the basic no-knead recipe and enjoy the bread’s natural flavor and crispy crust. For those busy days, you’ll appreciate how easy it is to mix the ingredients together without intensive hands-on time.
Feeling a bit creative? Infuse your bread with flavors like garlic, olives, or sun-dried tomatoes. Mix these ingredients into the dough before the first rise for bread that’s bursting with taste in every bite.
Don’t forget to experiment with the shape of your loaf before baking; it doesn’t have to be a perfect circle. Make oblong loaves, or even divide the dough to make rolls. Each shape will give a different crust-to-crumb ratio for you to enjoy.
Tips and Tricks
If your dough isn’t rising, check the water temperature. Ideally, your water should be warm—between 105°F and 115°F—to activate the yeast. A simple thermometer can be handy here. If you’re doubting the potency of your yeast, give it a proofing test before adding it to the flour.
For kneading, you can breathe easy—this bread requires none! Embrace the no-knead method, but ensure that you’re thoroughly mixing the ingredients. If the dough is too dry, add a tablespoon of water at a time until it reaches a shaggy but sticky consistency.
When baking, prevent a burnt crust by keeping a keen eye on your loaf during the last few minutes of baking. A beautiful char is welcome, but if you notice it starting to look too dark, tent the bread with aluminum foil to protect it.
After baking, let your bread cool on a cooling rack to keep the exterior crisp. Cutting into your loaf too soon traps steam and can result in a gummy interior—not the tender crumb you’re after.
For visual learners, there are plenty of bread-baking tutorials on YouTube. Find a creator whose style you enjoy—sans the sarcasm, unless that’s your jam.
Lastly, don’t forget to share your masterpiece. Snap a pic and show off your beautiful vegan bread on Instagram. Seeing the variety of loaves others have baked might just inspire your next batch!
Nutritional Information
When you bake up a vegan loaf of bread in a Dutch oven, you’re in for not just a tasty treat but a nutritious one too. Here’s a breakdown of the nutritional content you might find in a typical slice of this bread:
Calories: Generally, a slice has around 120 to 150 calories, sufficient to give you a nice energy bump.
Protein: It’s not just about carbs; you also get protein, roughly between 4 to 5 grams, which is crucial for muscle repair and overall health.
Iron: While not a powerhouse, each slice might contribute a small amount to your daily iron needs, important for keeping your blood healthy.
Fiber: Thanks to whole vegan ingredients, this bread can be a good source of dietary fiber, which aids digestion (expect about 2 to 3 grams per slice).
Carbohydrates: An average slice has about 20 to 25 grams of carbohydrates, providing your body with its preferred source of energy.
Sodium: Bread needs salt, but it’s kept in check here. A slice might contain around 200 to 300 milligrams of sodium.
Fat: This recipe typically yields bread with low-fat content, often under 1 gram per slice, keeping it light on the tummy.
Potassium: You’ll find a small amount of potassium, an essential mineral for heart function.
Remember, these are estimations, and the actual values can vary based on the specific recipe and any additional ingredients you decide to toss in. If you’re watching certain nutrients closely, like sodium or carbohydrates, just tweak the recipe to suit your needs. And don’t forget to enjoy the process as much as the slices themselves. Happy baking!
